How To for Raising DND tasks or quote requests Non-DM customers in Teamwork
Purpose of this How To Guide: This guide will provide you with step-by-step instructions on how to raise DND tasks or quote requests for Non-DM customers within Teamwork.
Owner: Husen Essa
Applicable to: DND Project Manager
Customers: Non-DM
Timescale: 2-5 Minutes
Introduction
The DND project manager is responsible for creating D&D Ad Hoc Work Tasks for Non-DM customers. This includes website changes and technical support requests.
A new D&D Ad Hoc Work task should be raised for each different ad hoc job.
Details Required:
- Company of client
- Description of work required
Guide:
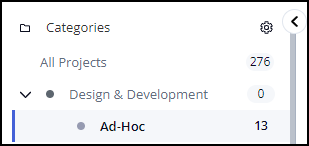
1. The first step of raising a task or quote request for the DND department is to find an existing DND Ad-Hoc project for the required customer, which may exist from previously completed work. The existing DND Ad-Hoc projects for Non-DM customers can be located within the category “Design & Development > Ad-Hoc” on the Teamwork projects page.
If there is an existing Ad-Hoc project, please proceed to Step 15.
If there is no existing Ad-Hoc project, please proceed to Step 2.
2. When creating a DND Ad-Hoc task you first require a Teamwork Ad-Hoc project to exist, which is where the tasks for your customer will be held within. To create a project, please access the “Projects” page.
3. Now you have accessed the projects area of Teamwork you should see an “Add Project” button at the top of the page. Clicking this button will open the project creation window.

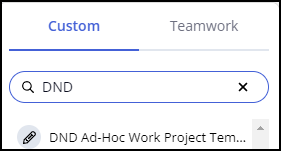
4. For the first step of the project creation window, select “Use a template”, which will display a search area. Search for “DND Ad-Hoc” in the search field to find the template you will be using. The template is named “DND Ad-Hoc Work Project Template”.
If you do not see the DND Ad-Hoc template, please double check you are in the “Custom” tab, not “Teamwork”, just above the search field.
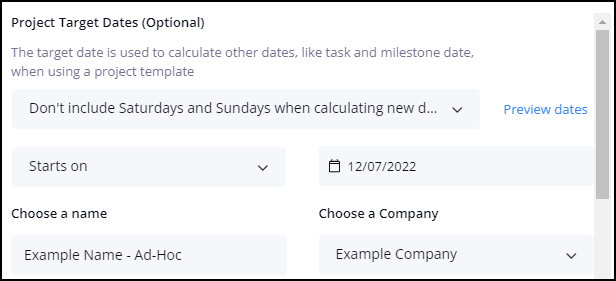
5. For the second step of the project creation window, amend the following fields:
Project Target Dates: Change “Allow task and milestone dates to fall on weekends” to “Don’t include Saturdays and Sundays when calculating new due dates”
Starts On: Please select the estimated project start date. If this is not confirmed at this stage, you can leave the start date on the current day.
Choose A Name: For consistency, please name all Ad-Hoc projects in the following format: Client Name – Ad-Hoc
Choose A Company: Search for the customers company name and select the company – if a company does not exist select “+ Add A New Company”, type in the company name and press enter.
Description: This can remain as “Ad-Hoc Task List”, which should already be populated.
Once all fields are correctly amended on Step 2 of the project creation window, please click “Next Step”.
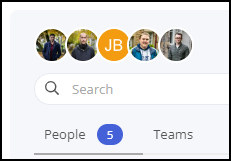
6. For the third step of the project creation window, you will need to ensure all people within the DND department are selected. This should already be the case as we have chosen the DND Ad-Hoc template earlier in the process.
Click “Next Step” once you have confirmed everyone in DND is selected.
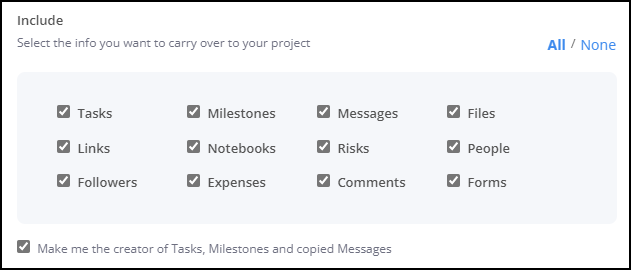
7. For the fourth step of the project creation window, all options listed under “Include” should be pre-selected already. No changes required on this step.
Click “Next Step” to continue.
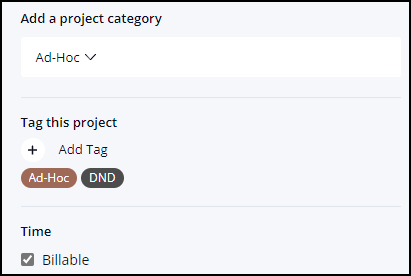
8. For the fifth and final step of the project creation window, no changes should be required here either.
The project category should be pre-selected to “Ad-Hoc”.
The tags should be pre-selected to “Ad-Hoc, DND”.
The time should be pre-selected as “Billable”.
The assign custom field option should be empty, displayed as “Select Field”.
Click “Create Project” to finalise the project creation window process.
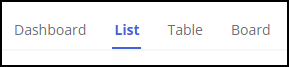
9. After clicking “Create Project”, the Ad-Hoc project will be created and you will be redirected to the new project area. Click “List” on the project navigation at the top to proceed to the next step.
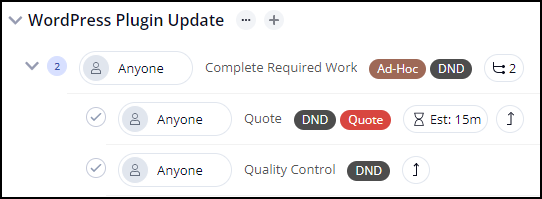
10. Now you are within the task “List” page of the project, you will be presented by an existing task list named “DND Ad-Hoc Work” – Please change to a more relevant name, such as “New Page” or “WordPress Plugin Update” etc.
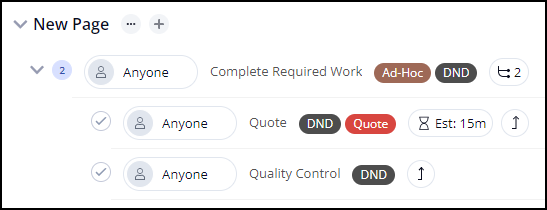
This task list will contain 3 standard tasks:
- Parent Task: Complete Required Work – This task will be used for the work to be scheduled & carried out.
- Sub Task: Quote – This task will be used for collating a quote, if applicable.
- Sub Task: Quality Control – This task will be used for carrying out quality control checks, if applicable.
11. For the next step, you will need to decide if a quote is required or if you would like to proceed to scheduling in the work.
If a quote is required, please populate the “Quote” task for Step 12.
If a quote is not required delete the “Quote” task and proceed to populate the “Completed Required Work” task for Step 12.
12. To populate the required task efficiently you will need to complete the following task fields.
Task Details Tab – Assignee – Assign to the relevant DND employee and tick the “Notify by email?” box when this appears, if not already ticked.

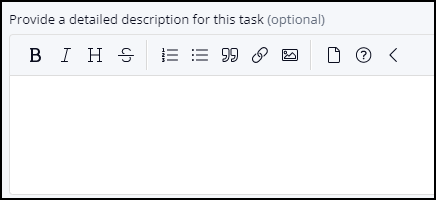
Task Details Tab – Description – Provide a detailed description of the work required. If a quote has already been agreed, please mention this within the description and include the total time discussed.
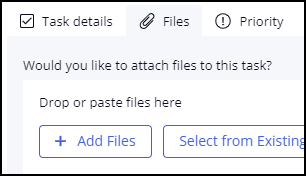
Files Tab – Add Files – Please add any files or resource documents associated to the work required, if applicable.
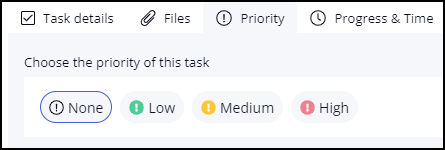
Priority – If the work requested is urgent and requires addressing ASAP, please select the “High” priority. For anything else select “Medium” or “Low”, whichever you feel is most appropriate.
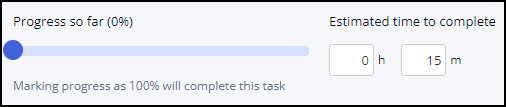
Progress & Time – Adjust the time to the required amount.
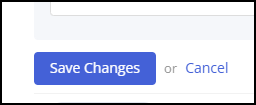
13. After you have populated all required task fields mentioned in Step 12, you will need to click “Save Changes”. If you do not click “Save Changes”, all populated fields will be reset and lost.
14. You have now successfully raised a task or quote request for the DND department.
15. If you have skipped to Step 15 as there was an existing DND Ad-Hoc project for this customer, you will only need to add a new templated task list to the project. To do this, proceed to Step 16.
16. Within the existing project, click “List” on the project navigation at the top.
17. Click the “Add Task List” button at the top of the page, which will display a pop up window.

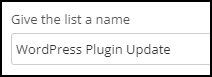
18. Populate the “Give the list a name” field, with a relevant name for the work required, such as “New Page” or “WordPress Plugin Update”.
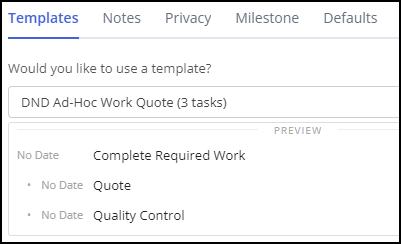
19. Within the template tab of the task list creation window click “Select A Template” and search for “DND Ad-Hoc”. You will then be presented with two template options:
“DND Ad-Hoc Work (2 tasks)” – Please select this option if a quote has already been verbally discussed and agreed.
“DND Ad-Hoc Work Quote (3 tasks)” – Please select this option if you require a quote first, before the work is scheduled and completed.
20. Once you have selected the chosen template, click the “Add Task List” button. You will then be presented with a new task list area containing the chosen templated tasks.
21. Now you will need to populate and assign the required task.
If you selected “DND Ad-Hoc Work” you will populate the “Completed Required Work” task for Step 22.
If you selected “DND Ad-Hoc Work Quote” you will populate the “Quote” subtask for Step 22.
22. To populate the required task efficiently you will need to complete the following task fields.
Task Details Tab – Assignee – Assign to the relevant DND employee and tick the “Notify by email?” box when this appears, if not already ticked.
Task Details Tab – Description – Provide a detailed description of the work required. If a quote has already been agreed, please mention this within the description and include the total time discussed.
Files Tab – Add Files – Please add any files or resource documents associated to the work required, if applicable.
Priority – If the work requested is urgent and requires addressing ASAP, please select the “High” priority. For anything else select “Medium” or “Low”, whichever you feel is most appropriate.
Progress & Time – Adjust the time to the required amount.
23. After you have populated all required task fields mentioned in Step 22, you will need to click “Save Changes”. If you do not click “Save Changes”, all populated fields will be reset and lost.
24. You have now successfully raised a task or quote request for the DND department.