How To for creating DND website projects in Teamwork
Purpose of this How To Guide: This guide will provide you with step-by-step instructions on how to create DND website projects in Teamwork.
Owner: Husen Essa
Applicable to: DND Project Manager
Customers: All
Timescale: 15-20 Minutes
Introduction
The DND project manager is responsible for creating D&D Website Projects. A new DND website project should be created within Teamwork for each individual website we produce.
Details Required:
- Company of client
- Internal Website Quote
- Website Proposal
- Initial Website Resources (I/A)
Guide:
1. The first step of creating a DND website project in Teamwork is to collate the required details and resources listed above, this will ensure you are ready to populate the required fields and areas within the project creation process.
2. To create a project, first access the “Projects” page within Teamwork.
3. Click the blue “+ Add Project” button at the top of the page, which will display a pop up window containing the four initial steps of the project creation.

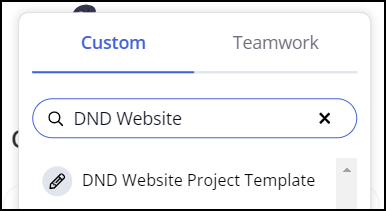
4. For the first step of the project creation window, select “Use a template”, which will display a search area. Search for “DND Website” in the search field to find the template you will be using. The template is named “DND Website Project Template”.
If you do not see the DND Website Project Template, please double check you are in the “Custom” tab, not “Teamwork”, just above the search field.
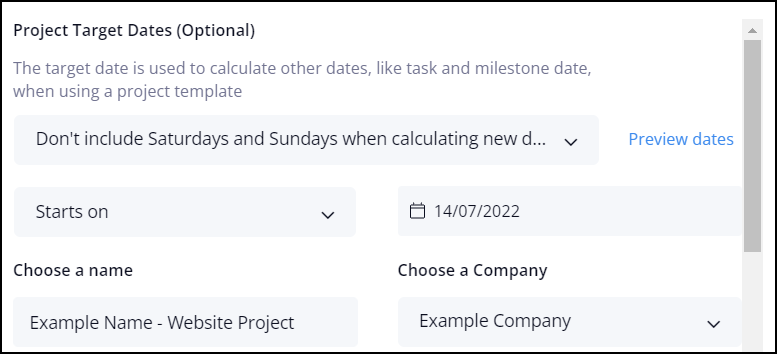
5. For the second step of the project creation window, amend the following fields:
Project Target Dates: Change “Allow task and milestone dates to fall on weekends” to “Don’t include Saturdays and Sundays when calculating new due dates”
Starts On: Please select the estimated project start date. If this is not confirmed at this stage, you can leave the start date on the current day.
Choose A Name: For consistency, please name all website projects in the following format: Client Name – Website Project
Choose A Company: Search for the customers company name and select the company – if a company does not exist select “+ Add A New Company”, type in the company name and press enter.
Description: This can remain as “DND Website Project”, which should already be populated.
Once all fields are correctly amended on Step 2 of the project creation window, please click “Next Step”.
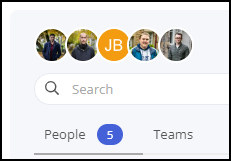
6. For the third step of the project creation window, you will need to ensure all people within the DND department are selected. This should already be the case as you have chosen the DND Website Project template earlier in the process.
Click “Next Step” once you have confirmed everyone in DND is selected.
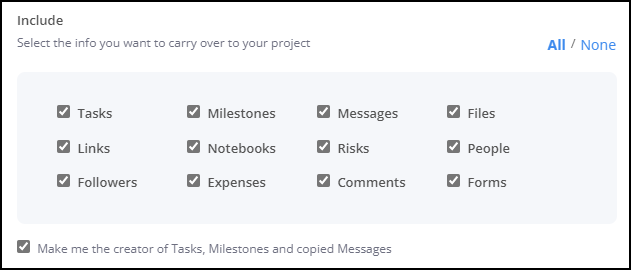
7. For the fourth step of the project creation window, all options listed under “Include” should be pre-selected already. No changes required on this step.
Click “Next Step” to continue.
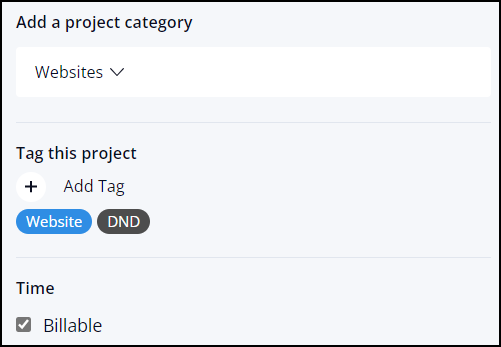
8. For the fifth and final step of the project creation window, no changes should be required here either.
The project category should be pre-selected to “Websites”.
The tags should be pre-selected to “Website, DND”.
The time should be pre-selected as “Billable”.
The assign custom field option should be empty, displayed as “Select Field”.
Click “Create Project” to finalise the project creation window process.

9. After clicking “Create Project”, the website project will be created and you will be redirected to the new project area. Click the “List” link on the project navigation at the top of the page to proceed to the next step.

10. Now you are within the task “List” page of the project, you will be presented by the templated task lists. This should include:
- Discovery
- Design
- Development
- Quality Assurance
- SEO/Marketing Stage
- Soft Launch
- Launch
- 60 Day Updates Guarantee
11. For the first task list (Discovery), you will need to ensure the time allocated to the tasks is accurate. By default in the website project template they will be set to the following times:
- Project Creation – 30 Minutes
- Discovery/Design Consultation – 1 Hour
- Content Collation – 30 Minutes
To change the time allocated to a task access the “Progress & Time” tab when editing the task.
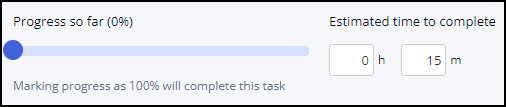
Alternatively, you can quickly edit the time by clicking the allocated time button, indicated by an hourglass icon.

Please delete the “Content Collation” task if content collation is not included within the project quote.
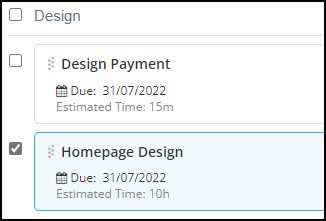
12. For the second task list (Design), you will need to ensure the time allocated to the tasks is accurate. By default in the website project template they will be set to the following times:
- Build Preparation – 5 Hours 30 Minutes
- Homepage Design – 10 Hours
- Design Payment – 0 Minutes
Following this, you will need to add all individual core/internal designs as separate tasks within the design task list. Please refer to the website quote to find which pages have been allocated designs and the time quoted for each, which you will assign to the tasks estimate.
To add a new design task, click the “+ Add a task” button, which will appear at the bottom of the design task list.

13. For the third task list (Development), you will need to ensure the time allocated to the tasks is accurate. By default in the website project template they will be set to the following times:
- Internal Build – 40 Hours 30 Minutes
- Speed Optimisation – 3 Hours
- Build Review – 2 Hours
- Data – 1 Hour
Please delete the “Data” task if data migrations are not included within the project quote.
14. For the fourth task list (Quality Assurance), you will need to ensure the time allocated to the tasks is accurate. By default in the website project template they will be set to the following times:
- Quality Check – 5 Hours
- QA Amendments Feedback – 30 Minutes
15. For the fifth task list (SEO/Marketing Stage), you will need to ensure the time allocated to the tasks is accurate. By default in the website project template they will be set to the following times:
- SEO Transfer/Checks – 1 Hour
- Analytics Tracking Transfer/Checks – 15 Minutes
Please delete the “SEO Transfer/Checks” task if an SEO transfer or checks are not included within the project quote.
16. For the sixth task list (Soft Launch), you will need to ensure the time allocated to the tasks is accurate. By default in the website project template they will be set to the following times:
- Final PM Quality Check – 30 Minutes
- Client Handover – 15 Minutes
- Client Soft Launch Feedback – 30 Minutes
- Client Sign Off – 0 Minutes
- Training – 1 Hour
- Final Payment – 0 Minutes
In most cases for this particular task list, all time would remain the same except for the “Training” task, which is quoted on a per project basis.
17. For the seventh task list (Launch), you will need to ensure the time allocated to the tasks is accurate. By default in the website project template they will be set to the following times:
- Website Launch – 1 Hour
- Post Launch Contact Form Tests – 30 Minutes
- Post Launch Tracking Tests – 30 Minutes
- SSL/Installation Checks – 30 Minutes
In most cases for this particular task list, all time would remain the same.
18. For the eighth task list (60 Day Updates Guarantee), you will need to ensure the time allocated to the tasks is accurate. By default in the website project template they will be set to the following times:
- Month 1 Updates – 3 Hours
- Month 2 Updates – 3 Hours
19. Now all tasks for the project have been created and populated with the accurate amount of time, you can now proceed to plan in the project. The planning of the project includes allocating a date and assignee for each task using the Gantt chart area.
If you are not planning in the project at this stage, please proceed to Step 21, where you will populate the remaining required areas of the Teamwork project to complete the project creation process.
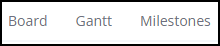
20. To start planning in the project, click the “Gantt” link at the top of the project page. Within this area you will be able to adjust each task to a certain date and allocate to an assignee.
Please ensure to also set the estimated start and end dates for the project milestones, which are indicated by the purple icon.

For more information on how to use the Gantt chart, please refer to the Teamwork Gantt Guide.
21. Now you have planned in the project it’s time to proceed to the next project area, which will be the “Board”.
22. Within the board page click the blue “> Show backlog” button on the left-hand side to display the list of tasks you have assigned to the project.
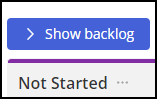
23. Select all design tasks within the window which appears on the left and drag to the “Not Started” column. Once the designer starts and progresses through the design stage, they will be required to move the design tasks to the relevant column.
- Not Started
- In Progress
- Client Review / Feedback
- Completed / Sign Off
This is the only changed required to the boards at this stage.
24. Click the “Files” link at the top of the project page to progress to the next area of the project creation process.

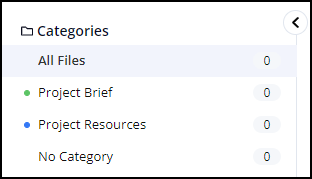
25. Within the “Files” page you will be presented by two categories on the left-hand side:
- Project Brief
- Project Resources
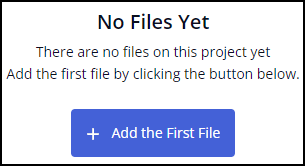
Please upload the project brief/proposal to the “Project Brief” category by clicking on the category name, followed by the blue “+ Add the First File” button which will appear.
Please upload any project resources you may have to the “Project Resources” category by clicking on the category name, followed by the blue “+ Add the First File” button which will appear. (such as client images or documents)
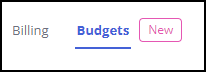
26. Click the “Finance” link at the top of the project page to progress to the next area of the project creation process.

27. Within the “Finance” page click the “Budgets” link within the left-hand side column.
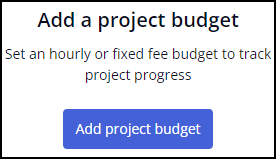
28. Click the blue “Add project budget” button and you will be presented with a pop up window.
Populate the “Total fee” field with the total cost for the website project, which can be found in the project proposal.
- “Budget repeats” should be pre-selected as “Never”.
- “Budget is based on” should be pre-selected as “All Time”.
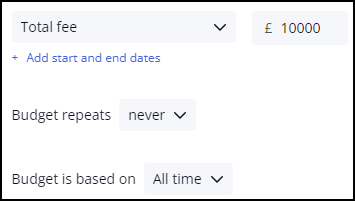
Click the blue “Create budget” button.

29. You have now successfully populated all required areas for the project creation process. It would be advised to re-check all areas adjusted to ensure they have been set correctly.
- List
- Gantt (inc milestones)
- Board
- Files
- Finance