CONTENT – How To – Content Management in Teamwork
Purpose of this SQ How To: This guide will provide you with step-by-step instructions on how to correctly move a piece of content through Teamwork, including using Sharepoint, QC, account manager and client approval, upload and task completion in Teamwork for all customers.
Applicable to: This guide can be applied to all written content, excluding organic social.
Customers: All
Timescale: Dependant on amount of time dedicated to the task. Usually ranges from 30 minutes to up to 2 hours. (?)
Introduction
Blog management guarantees a positive and easy user experience.
This work includes ensuring the meta data is in each blog (usually within the SEO plugin area) – including the SEO title, SEO description, the appropriate keyword and links.
It also involves some general housekeeping; checking blogs have no broken images or links, and making sure the format works for a user-friendly experience. Making sure the blog includes H1s or H2s (or other heading formats) as necessary.
This introduction is from the old version, may need revision.
The steps will be in the format of role/which department the step is for followed by the details.
- Exec – Starts the task by clicking on the board icon on the task

And choosing the Started Column: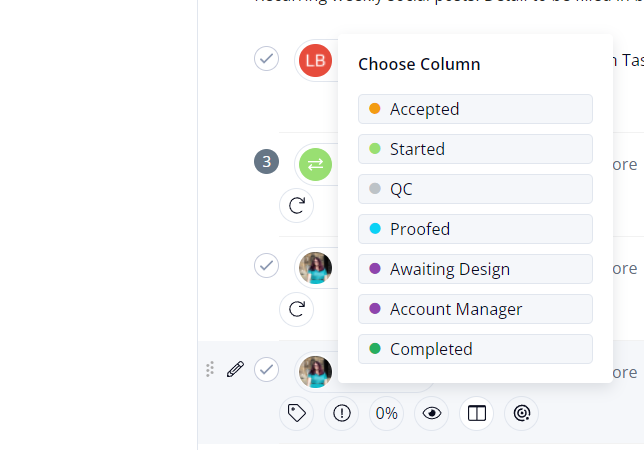
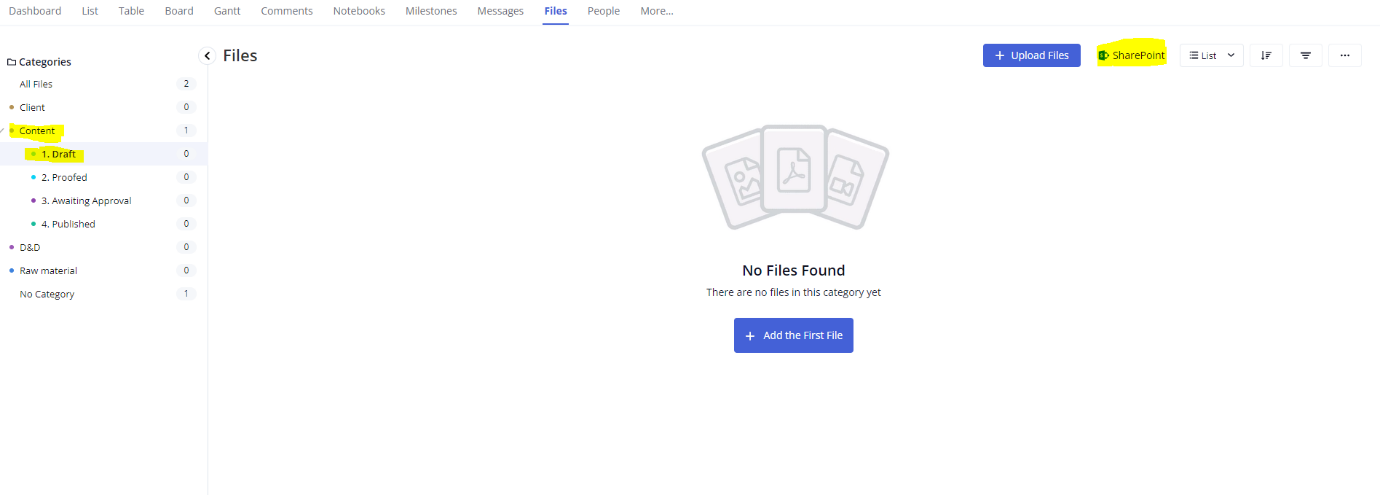
- Exec – From the task flyout, navigates to Task Details > Files > Content > Draft and open SharePoint:
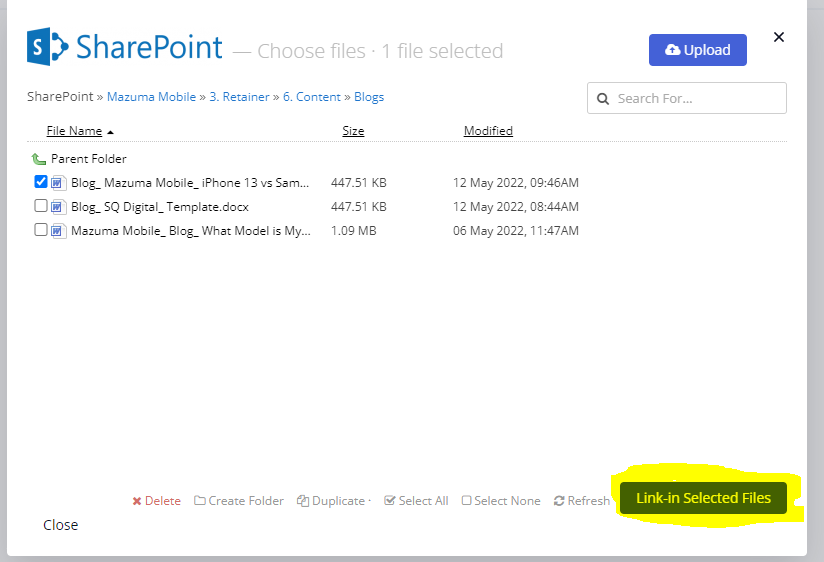
- Exec – Navigates through Retainer > Content and choose the type of content being written (blog/on site/newsletter)
- Exec – Duplicates the content template document and saves a new version using the following naming structure:
Type of Content_ Client Name_ Content Title
When prompted to choose a file category, select 1. Draft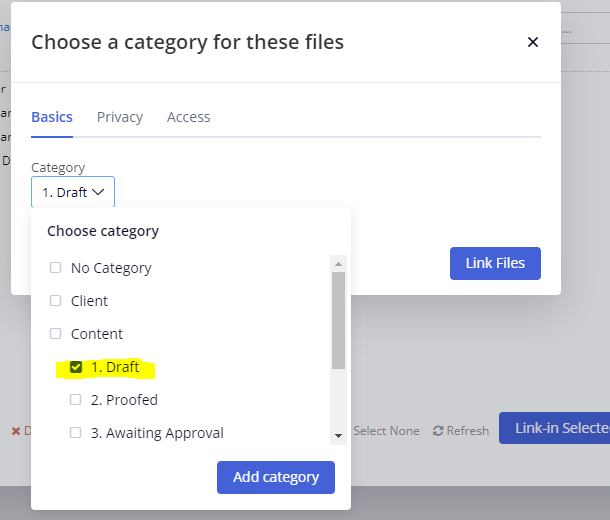
- Exec – With the content document selected, click Link-in Selected Files to link the SharePoint document to the Teamwork Project
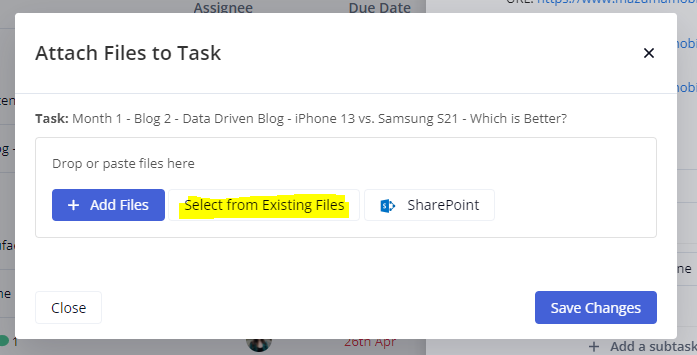
- Exec – Attaches content to the parent task by navigating to the Task > Files > Attach files to this task > Select from Existing Files > select correct SharePoint linked document from list > Save Changes
- Exec – Clicks View on SharePoint to open the content document and writes the content.
- Exec – Moves the task to the QC column using the board icon.
- Quality Control – receives request in QC board and member of the Quality Control team claims the request by assigning the QC subtask to themselves.
- Quality Control – Accesses the content through the View on SharePoint button in the task flyout and edits the content with Tracked Changes on.
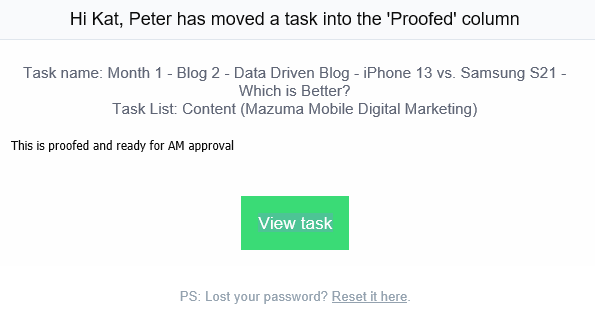
- Quality Control – Completes the QC subtask and moves the parent task to the Proofed column on the board. This notifies the Exec that the content has been proofed.
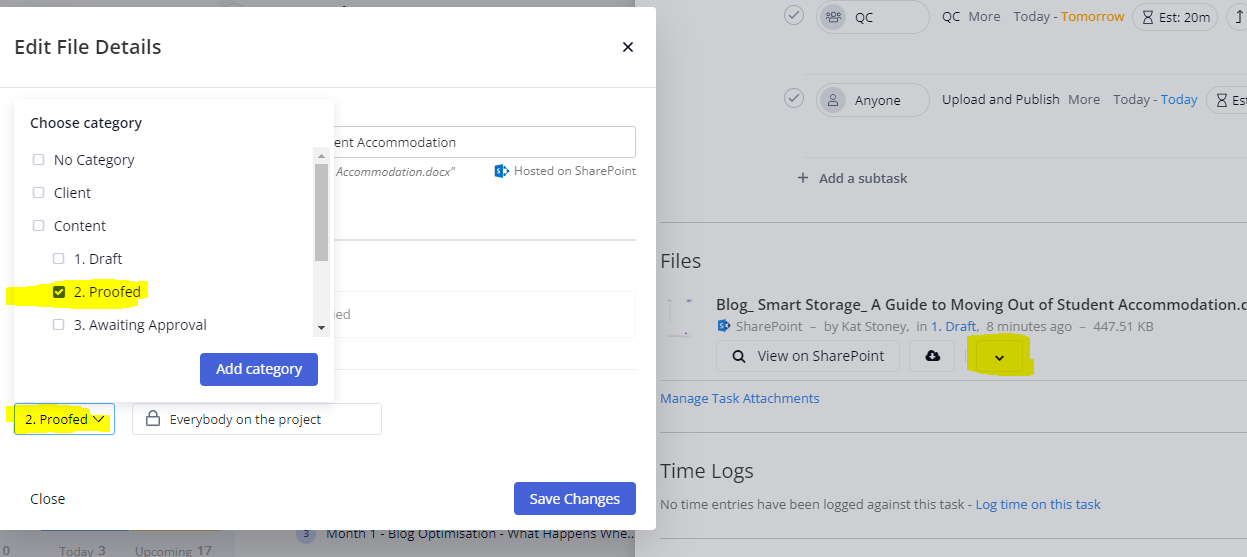
- Exec – Moves the file to the proofed category by nagivating from the Files section of the task flyout > v > category > 2. Proofed
Opens the proofed content in SharePoint and accepts/rejects the tracked changes, actions any comments, and ensures all comments have been deleted and checks the document is ready for approval. - Exec – Moves the File to the Awaiting Approval Category by navigating to task flyout > v > category > 3. Awaiting Approval, and moves the task to the Account Manager column on the board. This automatically reassigns the task to Account Managers and notifies the Account Manager that the content is ready for approval.
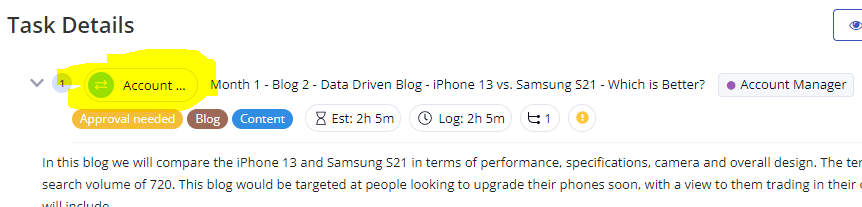
- Account Manager – Opens the content through the file link in the task and checks the document. If approved, move to step 16. If changes are required, Account Manager – Leaves a comment on the task instructing Exec on the changes required and reassigns the parent task to the Exec.
- Exec – If changes are minor, Exec makes the changes, notifies the Account Manager that changes have been implemented through a comment, and reassigns the parent task to the Account Manager, who repeats step 14.
If the changes are major, the Exec moves the parent task back to the started column, makes the changes, and returns to Step 8 to move the edited content through the QC process again. - Account Manager – If client approval is required, download the content, sends to the client and move the parent task to Awaiting Client Approval column on the board. If no client approval is required, move to Step 19.
- Account Manager – If the client approves content, move to step 19. If the client has feedback and content requires changes, notify the Exec through the comments on the parent task, attaching any feedback and clear instructions either as a file or within the comments and reassign the parent task to the Exec.
- Exec – If changes are minor, Exec makes the changes, notifies the Account Manager that changes have been implemented through a comment, and reassigns the parent task to the Account Manager, who repeats Step 16 if required, or moves to Step 19 if they are happy to proceed with the upload. If the changes are major, the Exec moves the parent task back to the Started column, makes the edits, and returns to Step 8 to move the edited content through the QC process again.
At any point in the feeback loop (Steps 13 – 18), task should remain with the Account Manager until there is action required by the Exec. - Account Manager – Moves the parent task to the Ready for Upload column on the board and reassigns the parent task to the Exec. This notifies the Exec that the content is ready for upload.
- Exec – Uploads the content, moves the File to the published category by navigating to task flyout > v > category > 3. Awaiting Approval, logs time completes the upload subtask and moves the parent task to the Complete column on the board.